Signal sidequest

Why a Morse key?
I was looking for a simple project to use as an excuse to develop some procedure and documentation templates, and when I discovered one of our colleagues was a ham radio aficionado, I thought a simple Morse key would be a fun reintroduction to some mechanical engineering workload. Given that I've now spent most of the last decade exclusively working on software systems of one sort or another, a soft start like this seemed perfect.
The Morse key would give me the opportunity to do a bunch of things I was keen to get on top of, like:
- Building my familiarity with the Zoo modeling app.
- Ironing out a neat workflow for using FEA tools with geometry built in Zoo.
- Stress testing my thinking on documentation and reporting.
- Getting to grips with my new Bambu printer.
On top of that, it would give me an excuse to play with a microcontroller for the first time since I built a MIDI drum sequencer some years ago... and hopefully I could pick up some Morse code along the way too.
The mechanical bit
This project is a bit 'Mickey Mouse' from a mechanical perspective: it's a single part, 3D printed, subject to basically no load. The actual geometry of the part that I ended up hooking up to the Arduino is shown below, complete with the sort of external corner radii that were broadly illegal when I was designing things that had to be machined.
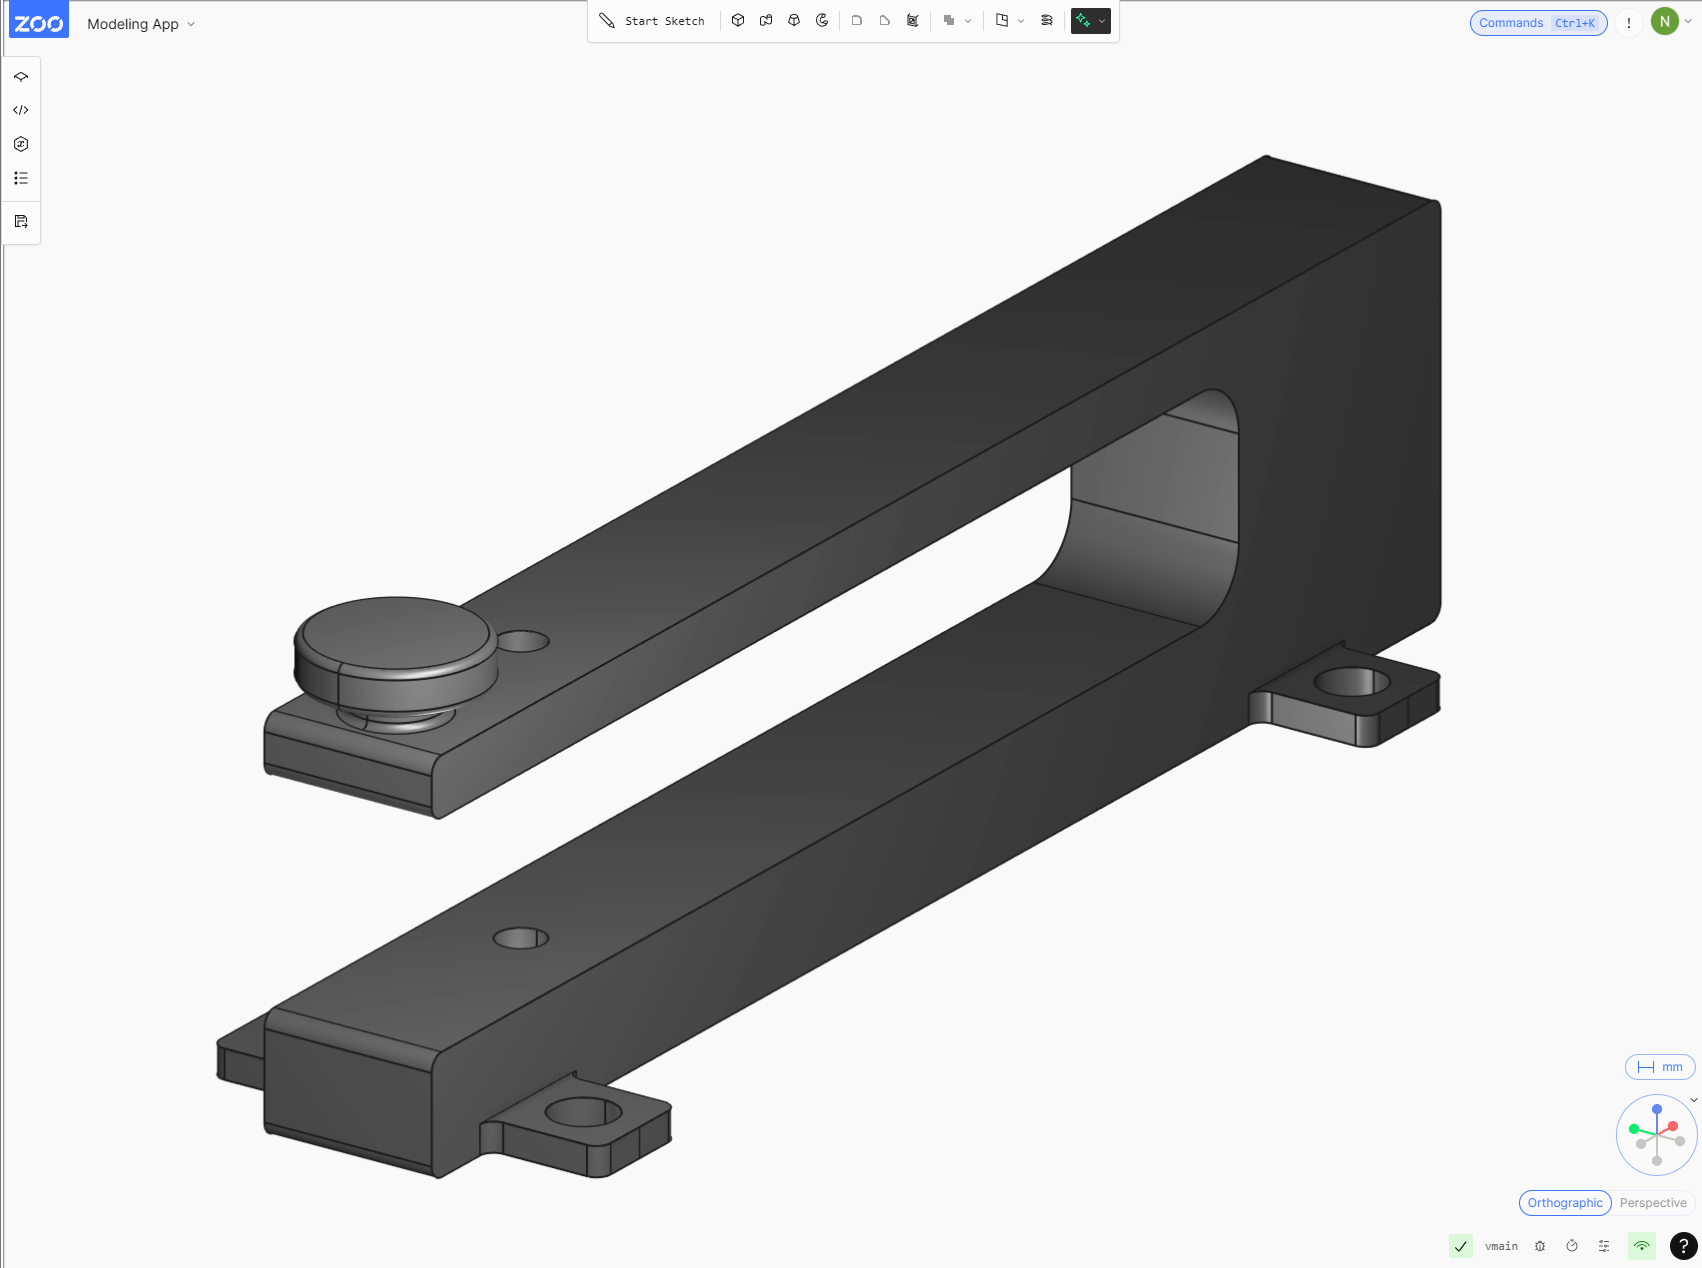
But before I got there via some rapid (and undocumented) iteration, I did actually work through a proper design process, and I have written up both the design work and experimental validation of this thing. In both cases, that documentation follows what I think is a good basis for a document-centric engineering workflow.
Finite elements, near-infinite limitations
Below is the 'Product Design Document' for the part. I'm a fan of documents like these, first and foremost, because the act of writing up the design process forces the designer to think through their work in a very structured way. It also provides a clear record of design intent, and forms an educational resource for the next person who picks up responsibility for the system. Beyond specific part and system documentation, a template that has been iterated on and proven out will also help less experienced hires build a mental model of what 'good' looks like.
In the case of the Morse key, the list of limitations related to the FEA approach is almost as long as the rest of the report, but the structure of the document is really what I was trying to work on here.
M12s and MDF
The simpler document below describes the experimental validation procedure. The last time I did anything like this, I had spent several weeks developing a prototype suspension system concept for an F1 car, and was in the process of running through a test programme I'd assembled to try and validate my hand-coded models. In that scenario, I had the luxury of several Servotest load frames to choose from, but this time I made do with an M12 bolt and some kitchen scales, all sat on a 9mm thick piece of MDF on my dining table.
To the microcontroller
The microcontroller aspect was pretty straightforward. I just needed to detect a closed circuit when the key was pressed, then come up with some mechanism for differentiating dots from dashes.
Wanting to structure the code in a somewhat flexible way, I went with PlatformIO and VSCode over the Arduino IDE, and settled on a project layout like this:
src
├── LedManager.cpp
├── LedManager.h
├── MorseTranslator.cpp
├── MorseTranslator.h
├── constants.h
├── main.cpp
└── morse_table.h
The body of the logic is handled by the MorseTranslator class, which handles the
closed circuit detection and the translation of the signal into a keystroke. The
other files really just exist to support that; defining parameters and controlling
the onboard LED.
In terms of how it actually works:
- The Morse key's contacts are connected to a digital input pin.
- When the key is pressed, the pin is pulled low, and current time recorded.
- When the key is released, the duration is compared to a threshold to classify it as either a dot or a dash.
- Each dot or dash is appended to a buffer, which represents a single Morse character.
- After a short gap, the buffer is matched against a lookup table and the corresponding
character is written out as a keystroke using
Keyboard.write().
We also have a buzzer that beeps when the key is pressed, and an LED that both blinks to indicate the program is running, and lights up when the key is pressed.
The parameterisation, given in constants.h, is as follows:
#ifndef CONSTANTS_H
#define CONSTANTS_H

namespace Constants {
// Serial.
constexpr int SERIAL_BAUD = 9600;

// Pin assignments.
constexpr int ID_PIN_READ = 7; // Leonardo.
constexpr int ID_PIN_LED  = LED_BUILTIN;
constexpr int ID_PIN_BUZZER = 3; // PWM pin, Leonardo.

// Buzzer freq.
constexpr int BUZZER_FREQ = 600; // Hz.

// Timing parameters, milliseconds.
constexpr unsigned long DURATION_DOT     = 100;
constexpr unsigned long DURATION_DASH    = DURATION_DOT * 3;
constexpr unsigned long GAP_INTER_LETTER = DURATION_DOT * 3;
constexpr unsigned long GAP_INTER_WORD   = DURATION_DOT * 7;

// Debounce parameters.
constexpr unsigned long DEBOUNCE_DELAY = 20;

// Buffer limits.
constexpr int MAX_BUFFER_SIZE = 20;
} // namespace Constants

#endif
The full code is also available in the project-morse-key repo.
As assembled, including electrical war crimes, this is what it looked like:
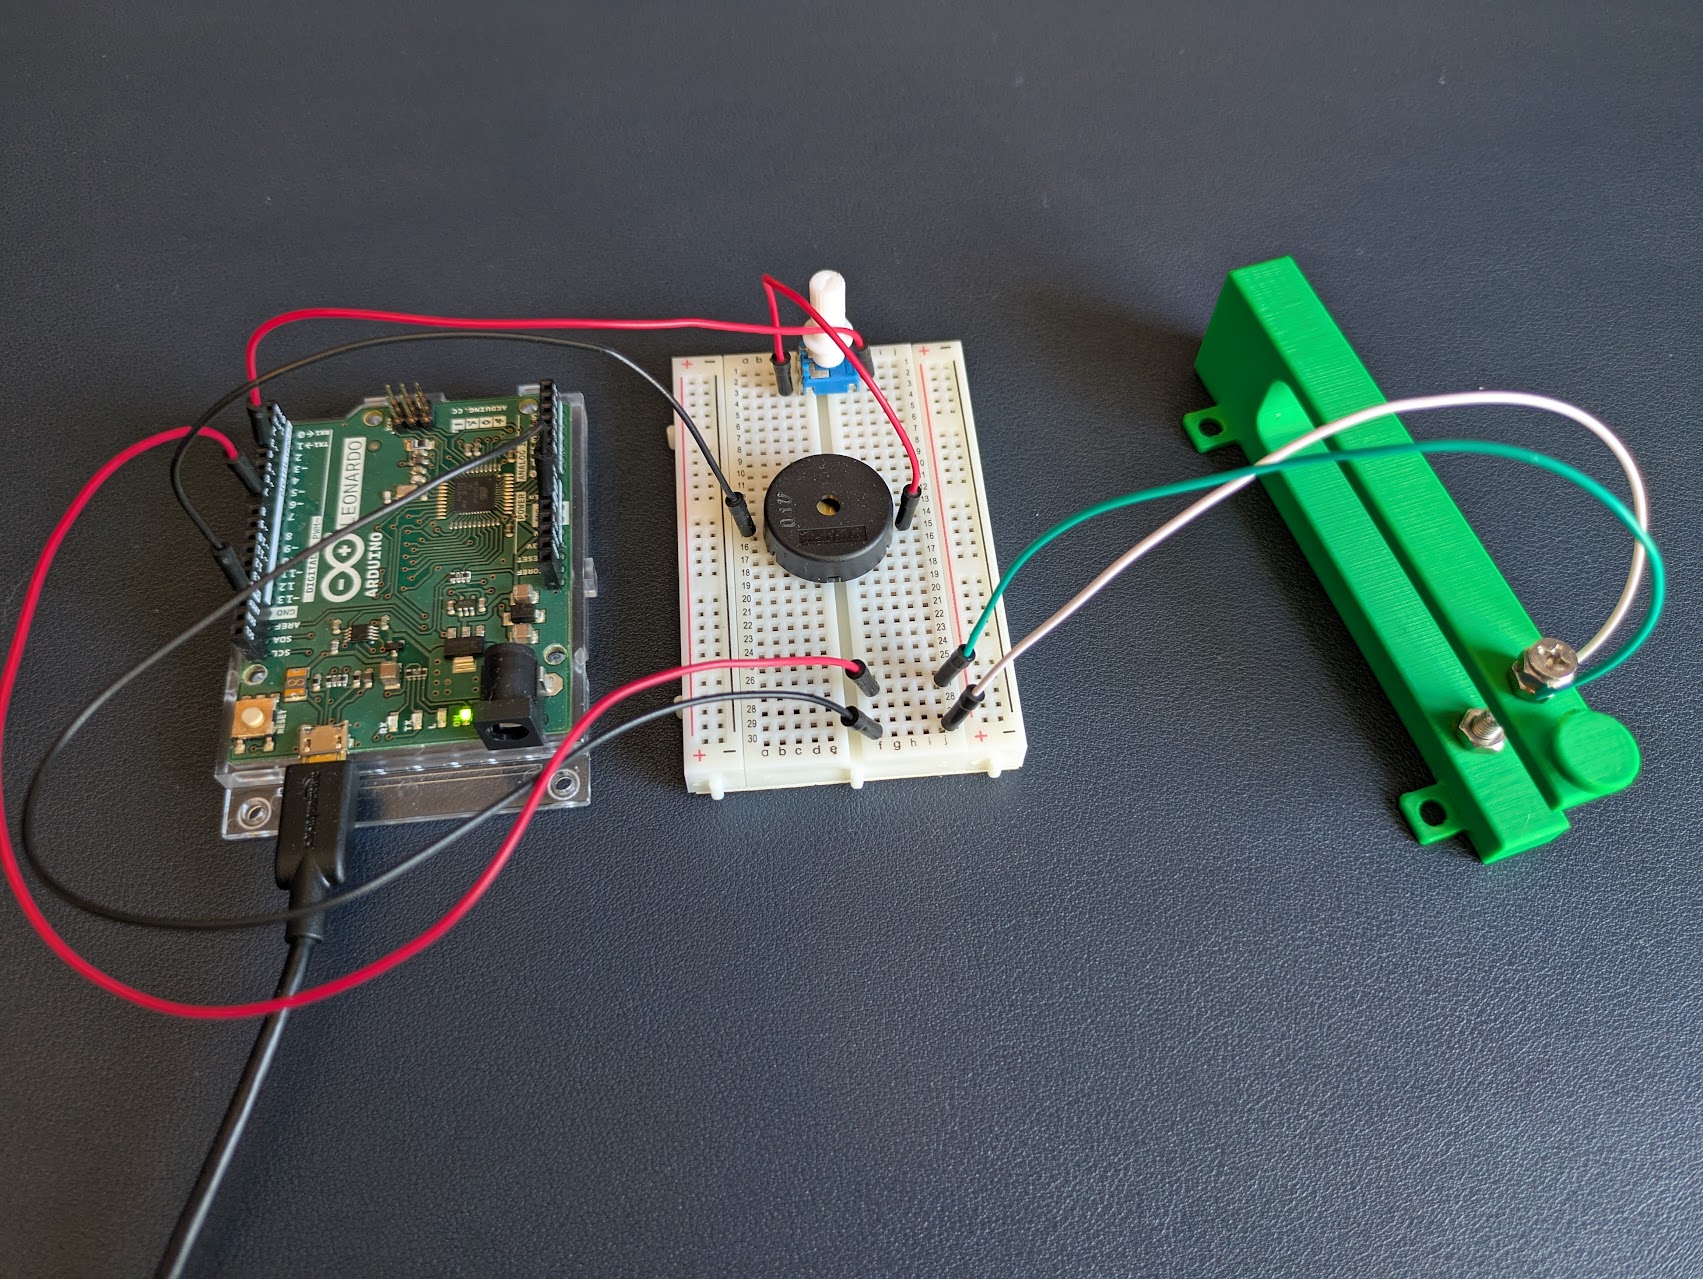
In the video, the HI message is being sent into Notepad, so you can actually
(sort of) use it as an input device.
Introducing Morsdle

At this point, I'd designed, printed, and tested the part. I'd also written the code required to make an Arduino interpret the signal and feed that to my computer as a keystroke. I could successfully send an 'A' or a 'B' and watch it appear in my text editor of choice, but I still didn't actually know Morse code.
Sat on a train from Belfast to Dublin one evening, I spent a bit of time looking for web pages that offered some kind of Morse code practice, and generally didn't find anything quite right. This formed an opportunity and an interesting challenge: could I build a relatively entertaining mechanism for teaching myself Morse code?
Feeding an LLM my Arduino code and some specific preferences with respect to frontend stack, I was able to hustle together the first version of morsdle.com within a few hours. The website was live the next day.
STOP
This was a small and simple project, but it gave me a chance to exercise some engineering workflow: design, simulation, testing, embedded code development, and documenting the process. Plus, if you consider Morsdle to meet the definition of a game, that's also the first game I've ever built.
Appendix: resources
We're also happy to open-source several projects that were either used or assembled in the course of this work:
- Zooplotlib: Our formerly internal python package that makes distributing and using matplotlib style sheets easy.
- Zooplotly: Similar to the above, a formerly internal python package for styling plotly figures.
- project-template: A template repository for mechanical engineering projects, including a set of LaTeX report templates for design, simulation/analysis, and experimental work.
- project-morse-key: As shared above, the full project repository for this work.